Building an igloo can be a delightful winter activity for children. With the right guidance, they can transform a snowy landscape into a cozy retreat. By selecting the appropriate spot and crafting perfect snow blocks, kids can experience the joy of teamwork and creativity. As they stack the blocks in a spiral, they’ll form a sturdy dome shape, learning valuable skills along the way. But there’s more to it than meets the eye. To ensure a safe and successful igloo-building adventure, it’s crucial to understand the key considerations. Let’s dive into the details and unlock the secrets of this captivating wintertime project.
Key Points
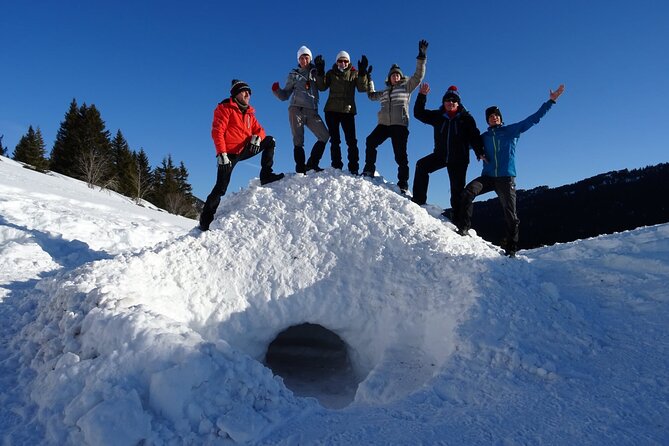
- Select a level, compact snow site away from obstacles and establish a stable base for the igloo.
- Identify dense, dry, and cohesive snow for cutting uniform blocks to construct the igloo frame.
- Arrange the snow blocks in a spiral pattern, tilting them inward to form the dome shape.
- Pack snow tightly into the walls and ceiling to insulate the igloo and seal any cracks.
- Layer the floor with insulating materials like pine boughs to create a warm and cozy shelter.
Preparing the Igloo Site
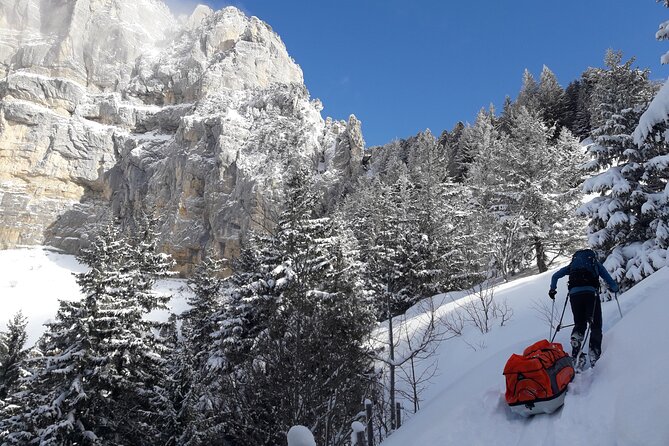
First, the group will select an appropriate location for building the igloo. The site should be on level, compact snow, away from any overhanging branches or rocks.
Once the spot is chosen, they’ll clear the area of any debris, ensuring a smooth, even surface. Next, they’ll pack down the snow, creating a solid foundation for the igloo’s walls. This initial step is crucial, as it will provide a stable base and prevent the structure from collapsing.
With the site prepared, the team can begin shaping the snow blocks and assembling the igloo, slowly bringing their winter wonderland to life.
You can also read our reviews of more tours and experiences in Chamonix.
Selecting the Right Snow
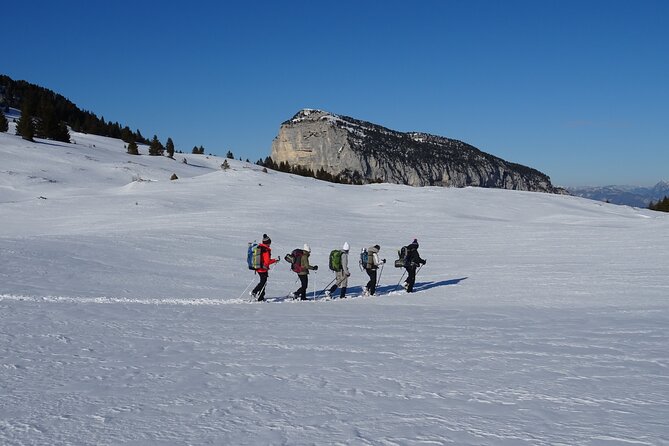
With the site prepared, the group turns its attention to selecting the right snow for building the igloo. The snow must be dense, compact, and able to support the structure’s weight.
The ideal snow is typically found in the late afternoon or evening, after a day of snowfall. It should be dry and powdery, yet cohesive enough to hold its shape when packed.
The group will need to dig through the top layer of loose snow to find the suitable, underlying snow. Once the right snow is identified, the building process can begin, with each block carefully shaped and stacked to create the igloo’s distinctive domed shape.
Cutting the Snow Blocks
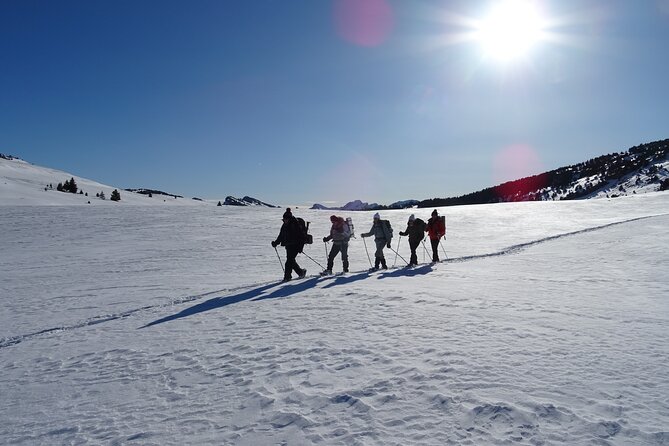
The group selects the appropriate snow blocks to begin constructing the igloo’s walls. Using their specialized tools, they carefully cut the snow into uniform rectangular blocks. This ensures a sturdy and well-structured foundation for the igloo.
The key steps in cutting the snow blocks include:
- Identifying the right snow conditions – dense, compact snow is ideal
- Using a saw or knife to cut the blocks cleanly and precisely
- Ensuring the blocks are the correct size and shape
- Stacking the blocks in a spiral pattern to create the igloo’s shape
With each block meticulously placed, the igloo takes shape, slowly transforming the snowy landscape into a cozy winter shelter.
Constructing the Igloo Frame
After cutting the snow blocks, the group begins constructing the igloo’s frame. They carefully arrange the blocks in a spiral, ensuring each layer overlaps the previous one.
As the spiral rises, they tilt the blocks inward, creating the iconic dome shape. Maintaining the correct angle is crucial, as it will determine the stability and shape of the finished structure.
The team works together, offering guidance and support to ensure the frame takes shape smoothly. With each block meticulously placed, the igloo’s framework gradually emerges, transforming the snow into a cozy winter shelter.
Insulating the Igloo Interior
Once the igloo’s frame takes shape, the team shifts their focus to insulating the interior. This crucial step helps trap heat and maintain a comfortable temperature inside the icy shelter.
The key steps to insulating the igloo include:
- Packing snow tightly into the walls and ceiling to create a dense, insulating layer.
- Smoothing the interior surface to minimize air gaps and improve thermal efficiency.
- Layering the floor with insulating materials, such as pine boughs or animal furs.
- Sealing any cracks or openings with additional snow to prevent drafts.
With the igloo now properly insulated, the structure is ready to provide a warm and cozy retreat from the winter elements.
- Snowshoeing in Chamonix, With a Private Guide
- Fly in Paragliding! Paragliding Experience Over Chamonix!
- Private Professional Photoshoot in Chamonix
- Acrobatic Paragliding Tandem Flight Over Chamonix
- Live an Ebike Mountain Bike Experience in the Heart of Chamonix Mont-Blanc
- Visit the Aiguille Du Midi in Chamonix, With a Private Guide
Decorating the Igloo
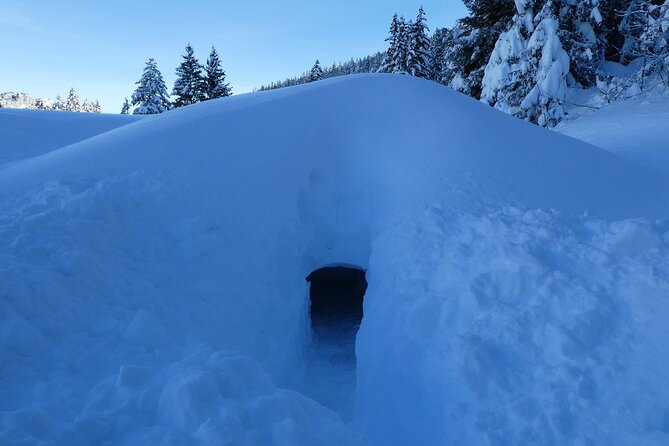
With the insulation in place, the builders now turn their attention to decorating the igloo’s interior.
Candles can be placed around the walls, casting a warm, ambient glow.
Intricate carvings and sculptures fashioned from the snow can adorn the space, adding a touch of whimsy and artistry.
Furs or other soft materials can be used to create cozy seating areas or even a sleeping platform.
Decorative elements made from naturally found materials, like icicles or pine branches, can further enhance the igloo’s winter wonderland aesthetic.
The builders’ creativity shines as they transform the once-functional structure into a cozy, aesthetically pleasing retreat.
Safety Considerations
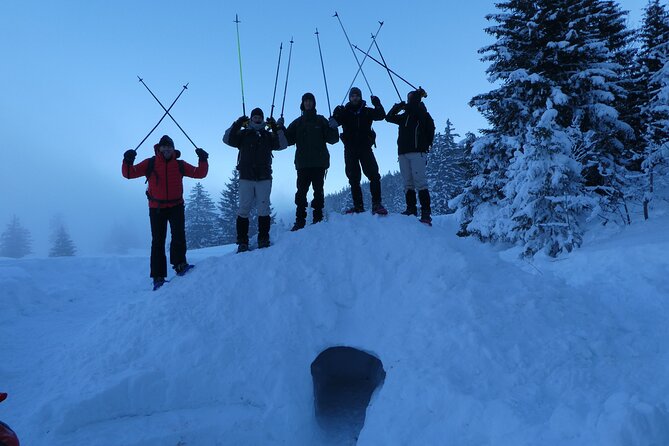
Safety is of paramount importance when building an igloo. Participants should wear appropriate winter gear, including insulated boots, gloves, and warm clothing.
Maintaining proper posture and technique is crucial to avoid injury while cutting and stacking the snow blocks. Plus, participants should be mindful of overhead conditions, as snow can sometimes fall unexpectedly.
- Wear proper winter attire
- Maintain safe posture and technique
- Be aware of overhead conditions
- Follow the guide’s instructions closely
With these safety considerations in mind, building an igloo can be a fun and rewarding experience for the whole family.
Enjoying the Igloo Experience
After tackling the safety considerations, participants can look forward to the immersive and enchanting experience of building an igloo.
Once the structure is complete, they’ll step inside and be transported to a winter wonderland. The cozy, cave-like interior offers a unique and memorable shelter, complete with soft lighting and drinks to warm the soul.
Participants can relax, take in the serene atmosphere, and capture the magic of this one-of-a-kind adventure.
With the mountain specialist on hand, guests can learn about the history and construction techniques of these iconic snow structures.
This activity promises an unforgettable experience, leaving participants with happy memories to cherish.
Frequently Asked Questions
Can I Bring My Own Tools for Building the Igloo?
While the activity includes the necessary specific equipment, bringing your own tools isn’t recommended. The mountain specialists will provide everything needed to build the igloo, ensuring a seamless and safe experience for participants.
How Long Does It Take to Construct a Fully Functional Igloo?
Constructing a fully functional igloo typically takes 1-2 hours, depending on the group’s size and experience. The mountain specialists will guide participants through the entire process, ensuring the igloo is sturdy and weather-resistant before the activity concludes.
Are There Any Age Restrictions for Participating in This Activity?
There are no age restrictions for this igloo building activity in Chamonix, France. Children of all ages can participate, though a moderate physical fitness level is required. The activity is suitable for families and groups.
Can I Customize the Interior Design of the Igloo?
The tour provider doesn’t offer custom interior design options for the igloo. However, participants can expect a standard, functional igloo design to be constructed during the experience. The focus is on the hands-on building process itself rather than personalized decoration.
What Happens in Case of Inclement Weather During the Activity?
If the weather turns inclement during the activity, the mountain specialists will adjust the experience accordingly. They’re prepared to provide sheltered options or reschedule the activity if needed to ensure guest safety and comfort.
The Sum Up
Building an igloo is a fun and rewarding winter activity for children. With the right guidance, they’ll learn valuable skills while unleashing their creativity in a cozy, snow-covered retreat. From preparing the site to decorating the interior, the process is an adventure that fosters teamwork and imagination. As they enjoy their DIY igloo, kids will cherish the memories of this unique winter experience.
More Tour Reviews in Chamonix
- Point of view on the glaciers of Chamonix by electric mountain bike
- Luxury Private Concierge – Chamonix Bespoke Experience
- Escape Game Outdoor The Walking Dead in Chamonix
- Chamonix Challenges EVG EVJF City Challenge team
- Private tasting of Savoie cheese and wine in Chamonix
- eBike Tour around Chamonix Mont-Blanc
Not for you? Here's more nearby things to do in Chamonix we have reviewed
- Point of view on the glaciers of Chamonix by electric mountain bike
- Luxury Private Concierge – Chamonix Bespoke Experience
- Escape Game Outdoor The Walking Dead in Chamonix
- Chamonix Challenges EVG EVJF City Challenge team
- Private tasting of Savoie cheese and wine in Chamonix
- eBike Tour around Chamonix Mont-Blanc
- Chamonix – Chocolate and Cheese tasting Private tour to Gruyere
- Hiking in Chamonix With a Guide
- Chamonix Ski Pass 2 Days – Early Booking
- Day Trip Annecy and Aravis From Chamonix
- Escape Game in the Streets of Chamonix
- Visit the Aiguille Du Midi in Chamonix, With a Private Guide
